Inspect convertible top damage (tears, holes, water stains). Gather repair kit and replace damaged parts. Apply high-quality sealant for weather protection. Test mechanism, adjust lock, cables, pulleys, and motors for smooth operation. Address friction or misalignment promptly for successful repair.
Looking to restore your vehicle’s iconic convertible charm? This step-by-step guide walks you through mastering the art of convertible top repair. Begin by assessing damage, gathering essential supplies like replacement parts and sealant. Next, learn the fine art of replacing damaged components, ensuring a secure seal for smooth operation. After completion, test your repair, adjusting for perfection. Revive your ride’s allure with these expert tips on effective convertible top repair.
- Assess Damage and Gather Supplies
- Replace Damaged Parts and Sealant
- Test and Adjust for Proper Operation
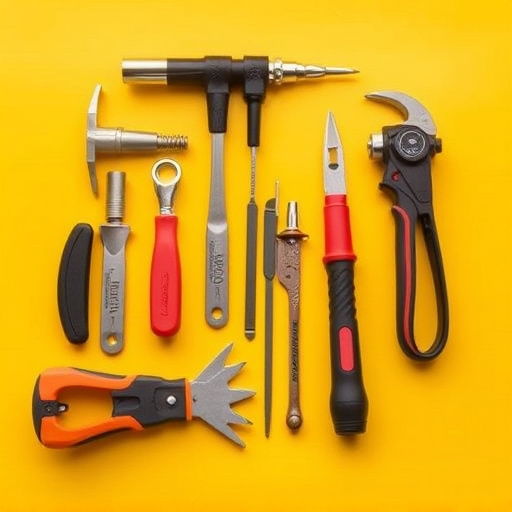
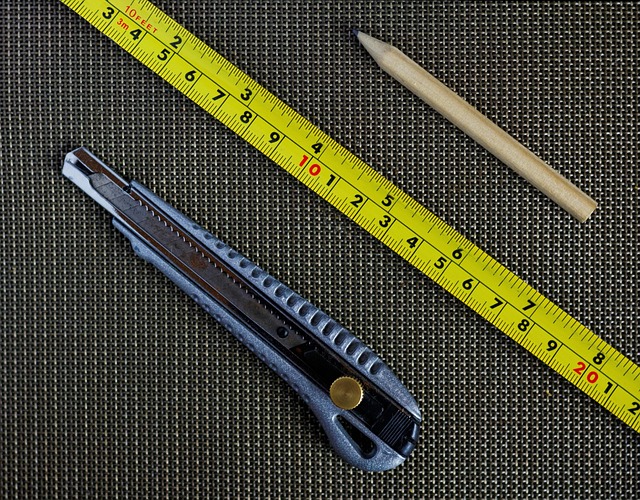
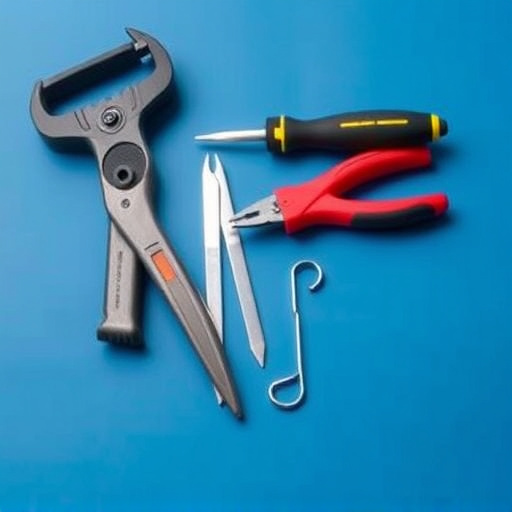
Assess Damage and Gather Supplies

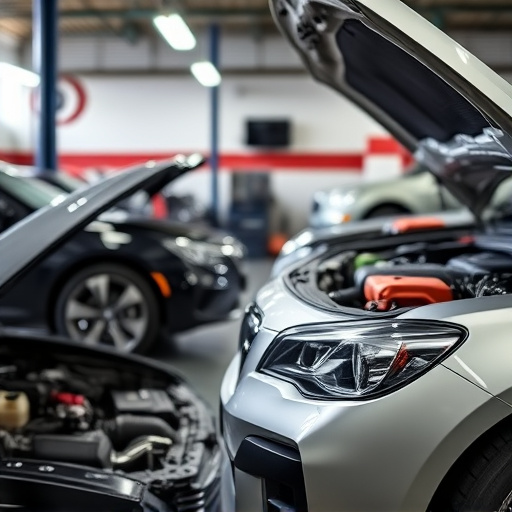
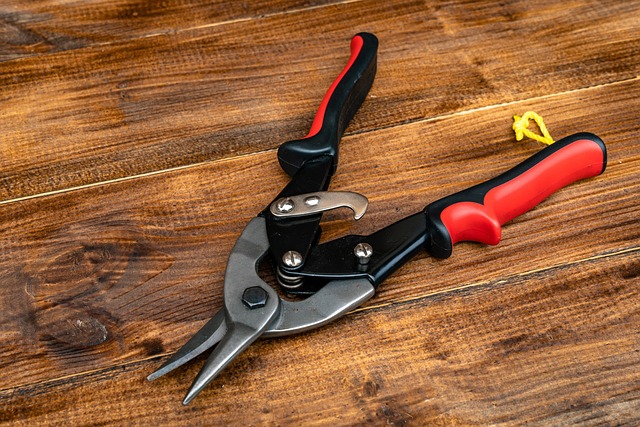
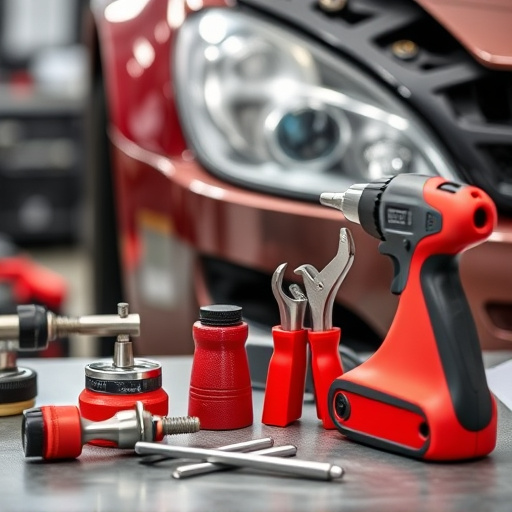
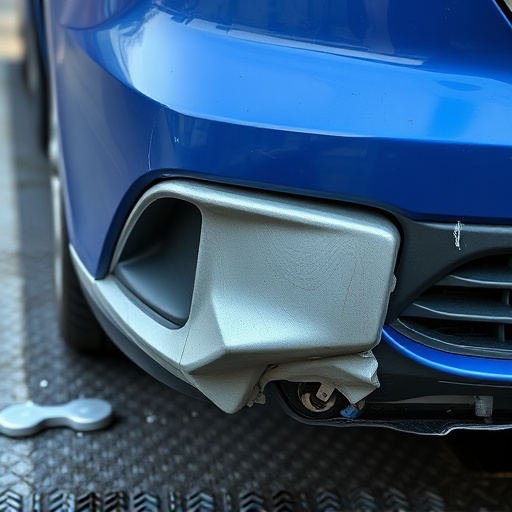
Before diving into the convertible top repair process, it’s crucial to assess the damage thoroughly. Inspect the top for any tears, holes, or loose threads. Check for broken mechanisms, such as the tracks and rollers, that keep the top in place. Also, look for signs of water damage or stains, as these could indicate a more complex issue. Once you’ve identified the extent of the problem, gather all the necessary supplies. Convertible top repair kits typically include replacement parts like cloth, hardware, and adhesive. You may also need basic tools such as screwdrivers, pliers, and fabric scissors. If the damage is extensive, consider seeking professional collision repair services for specialized car dent removal and tire services.
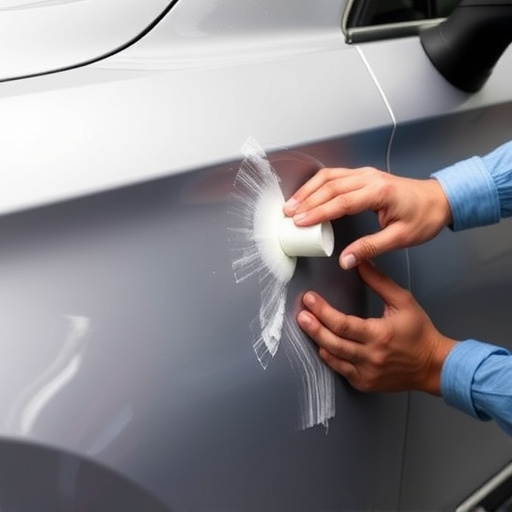
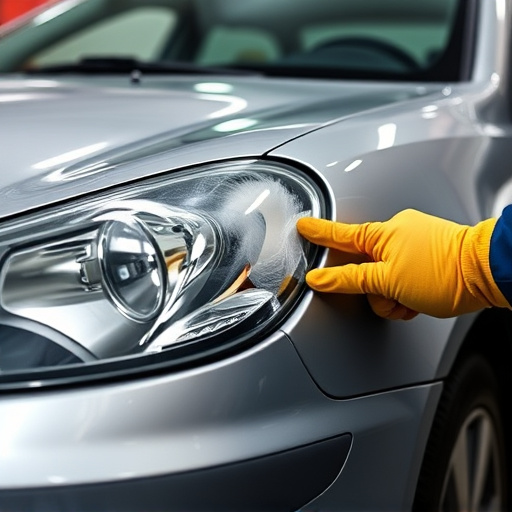
Replace Damaged Parts and Sealant

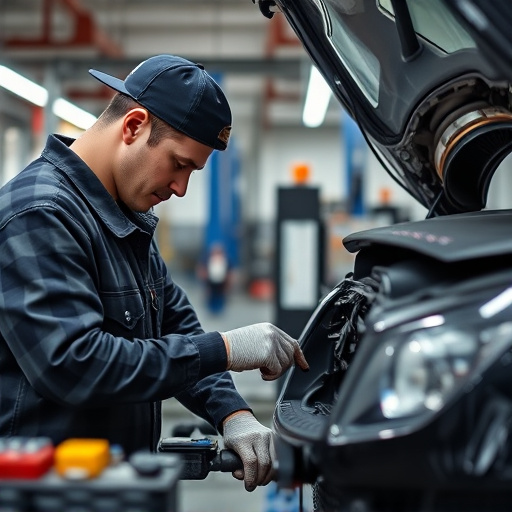
After inspecting your convertible top for damage, the next step in the convertible top repair process involves replacing any worn or damaged parts. This could include things like broken clips, torn seals, or frayed wires. It’s crucial to use high-quality replacement parts specifically designed for your vehicle make and model to ensure longevity and proper functionality.
Once the damaged components are replaced, applying a suitable sealant is essential. This step helps protect the repaired areas from moisture, road grime, and UV rays, which can cause further damage over time. A good quality sealant will create a protective barrier, enhancing the durability of your convertible top repair and ensuring it looks its best for longer. Remember, proper sealing is a key aspect of maintaining the overall health of your vehicle’s exterior, especially in regions with varying weather conditions.
Test and Adjust for Proper Operation

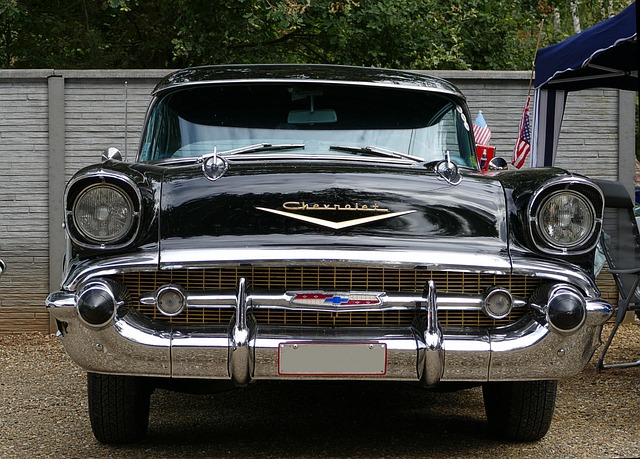
After completing the convertible top replacement, it’s crucial to test and adjust the mechanism for proper operation. Lower the new top completely and ensure it locks into place securely. Next, raise the top manually to verify smooth movement without any stuck points or unusual noises. Check all cables, pulleys, and motors for correct alignment and tension. If adjustments are needed, make them carefully using appropriate tools. Remember that precise settings are vital for a well-functioning convertible top repair on your classic car restoration project or auto body repair work.
During the testing phase, pay close attention to any signs of friction, binding, or misalignment. These could indicate issues with the mechanical components, which might require further fine-tuning or replacement parts. It’s essential to address these problems promptly for optimal vehicle restoration results.
Convertible top repair is a practical and cost-effective solution for restoring your vehicle’s functionality and aesthetics. By following these steps, from assessing damage to testing adjustments, you can effectively tackle the process yourself, ensuring a seamless experience. Remember, proper maintenance and timely repairs are key to keeping your convertible in top shape, so don’t delay in taking care of any issues. With the right supplies and a bit of know-how, you’ll have your vehicle’s top working like new again, ready for countless enjoyable drives under the sun.