


Convertible top repair requires specialized skills and high-quality parts to maintain functionality and aesthetics. Gather essential tools, prepare damaged areas, and use precise fits for replacement parts. Follow a step-by-step guide for removing, cleaning, repairing, and re-assembling the top. Proper preparation saves time and ensures optimal results, benefiting classic car restorers for overall vehicle upkeep.
Learn how to save time and money with this comprehensive guide to convertible top repair. Discover common issues that can leave your soft-top car struggling to make a smooth transition, and equip yourself with the essential tools and materials for an effective fix. Follow our step-by-step guide for a seamless and efficient conversion repair process. Master these techniques and extend the life of your convertible, enjoying countless sun-drenched drives without hassle.
- Understanding Common Convertible Top Issues
- Tools and Materials for Effective Repair
- Step-by-Step Guide to Efficient Conversion Fix
Understanding Common Convertible Top Issues
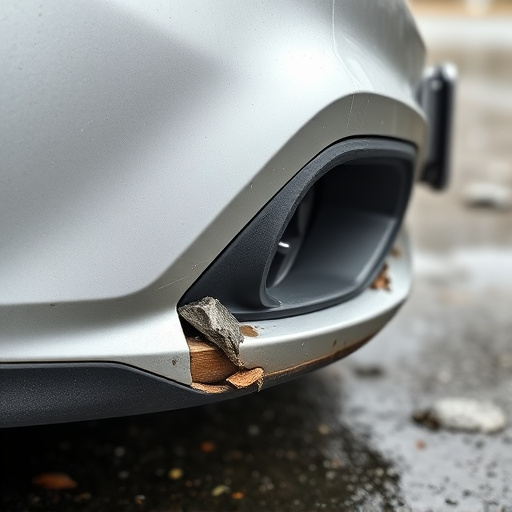
Convertible tops, while elegant and offering a unique driving experience, can be prone to several issues that impact their functionality and overall condition. Common problems include damaged seals, worn-out motors, and tears or holes in the fabric. These issues not only affect the top’s operation but also its appearance, leaving many car owners with an unsightly and problematic roof.
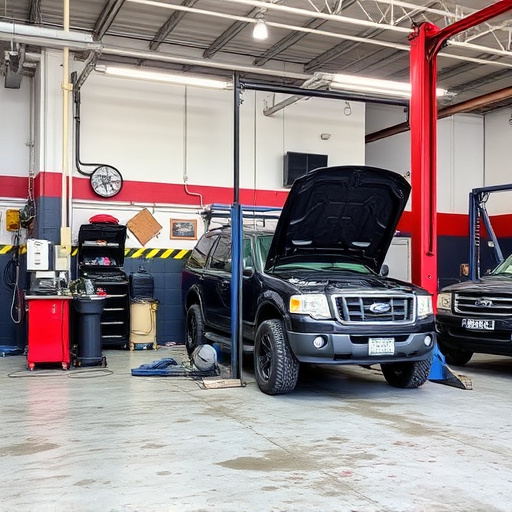
Proper maintenance and timely repair are key to mitigating these issues. Regular checks for signs of wear and tear can prevent minor problems from becoming major, costly repairs. Promptly addressing any damage ensures optimal vehicle performance and preserves the vehicle’s overall value. Convertible top repair is a specialized task that involves both replacement parts and skilled labor, making it an essential aspect of car body restoration and vehicle upkeep.
Tools and Materials for Effective Repair

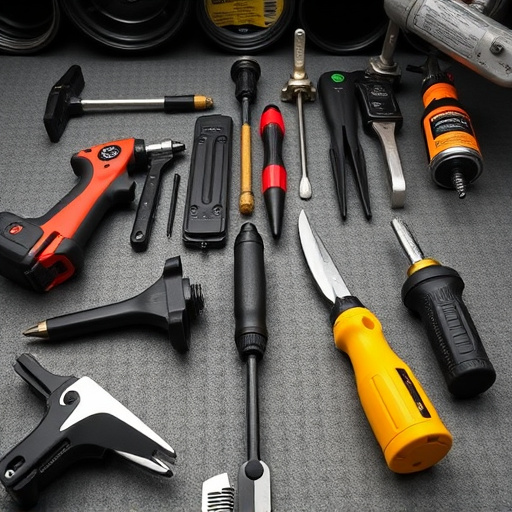
When it comes to convertible top repair, having the right tools and materials is essential for a successful and efficient fix. First on your list should be high-quality replacement parts that are specifically designed for your vehicle make and model. This ensures a precise fit and a durable, long-lasting repair. Next, gather essential tools like wrenches, screwdrivers, and specialized clamps to secure and adjust the top’s framework. Don’t forget protective gear such as gloves and safety glasses to safeguard against any debris or sharp edges during the process.
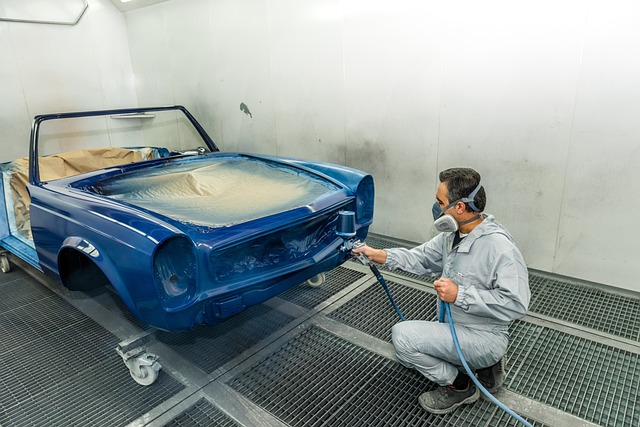
For more intricate repairs, consider investing in a dent repair kit or seeking professional collision repair services. These advanced tools can help address minor dents and creases, enhancing the overall appearance of your convertible top. Remember, proper preparation is key to saving time and ensuring a neat finish.
Step-by-Step Guide to Efficient Conversion Fix

Saving time is crucial when it comes to repairing your convertible top—a key feature that defines the joy and flexibility of driving an open-air vehicle. Here’s a step-by-step guide to efficiently tackle this repair, ensuring your car is back in peak condition swiftly. First, assess the extent of the damage. Is it limited to the top fabric or does it involve the frame? Identifying the issue accurately will guide you towards the right tools and materials. For minor tears or wear, a simple replacement of the damaged panels or a re-sealing of the seams might be all that’s needed. More complex car damage repair, such as structural repairs or a complete convertible top restoration, may require professional assistance for accurate diagnosis and fix.
Next, gather your tools and materials—high-quality repair kits specifically designed for convertible tops are recommended. This includes fabric patches, adhesive, and possibly new hardware like zippers or buckles. Ensure everything is within easy reach to streamline the process. Begin by removing the damaged section of the top, taking care not to damage adjacent components. Clean the area thoroughly to ensure proper adhesion during the repair. With a steady hand, apply the adhesive as per manufacturer instructions, then carefully align and secure the patch or replacement panel. Once set, re-install the convertible roof mechanism, testing its operation after each step to catch any issues early on. For classic car restoration enthusiasts, this is also an opportunity to ensure all parts are in top condition, enhancing your vehicle’s overall appeal.
Convertible top repair can significantly save time and money, ensuring your vehicle’s top functions flawlessly. By understanding common issues, gathering the right tools and materials, and following a structured guide, you can efficiently address and resolve these problems. Armed with this knowledge, you’ll be well-equipped to maintain your convertible’s top in top condition, extending its life and keeping you enjoying the open road without delays.